Imagine walking on Florida’s sunny beaches during a warm afternoon. The sun warms your skin while waves softly touch your feet. You notice many seashells along the shore, each a small masterpiece made by the sea. You start collecting them, thinking of turning them into beautiful coastal decor. This idea grew popular, with seashell crafts up 25% on Pinterest. Making seashell decor feeds your creative side and meets the demand for unique, eco-friendly home items. The coastal decor market is expected to grow 4.5% in the next five years.
People love adding a personal touch to their homes, especially with coastal themes. An online survey showed 70% prefer DIY decor because it’s cheaper than store-bought. These projects are fun and can make you money. Coastal-themed decor can be sold for a 40-60% markup online or at craft fairs. We have eight creative seashell DIY ideas for any skill level to bring a bit of the sea into any home.
Key Takeaways:
- Seashell crafting has seen a 25% increase in popularity on Pinterest searches year-over-year.
- Coastal decor market is projected to grow at a CAGR of 4.5% over the next five years, indicating strong demand.
- 70% of respondents prefer DIY decor projects as cost-effective alternatives to store-bought items.
- Coastal-themed home decor can achieve a markup of 40-60% when sold at craft fairs or online marketplaces.
- Crafting with seashells can cater to both beginner and seasoned crafters, offering a range of project possibilities.
Seashell Wall Art
Making seashell wall art brings a touch of the beach into your home. It’s a project filled with passion and memories of sandy days. You can fit seashells into many home styles, like Modern or Cottage Chic. First, we’ll cover the basic materials and steps needed to create your own seashell artwork.
Materials Needed
- A variety of seashells (like murex or ammonites)
- Epoxy glue, silicon sealant, or polyurethane glue
- Backing materials such as canvas or wooden boards
- Paint and brushes (optional for added artistic touch)
- Protective sealant to ensure longevity
Choose a wide range of seashells for detailed designs. Strong glues, like epoxy or polyurethane, will keep shells in place.
Steps to Create
- Start with a clean and prepared backing material.
- Arrange your seashells in your desired pattern before attaching them. Consider sea-themed patterns or abstract designs.
- Use epoxy glue, silicon sealant, or polyurethane glue to affix each shell carefully.
- Allow the glue to dry completely before applying a protective sealant.
- Optionally, add paint or other embellishments to enhance the art piece.
Let each layer dry well. Doing so makes your seashell art both stunning and long-lasting.
Pricing Strategies
When pricing your DIY oyster shell crafts, think about both material costs and your time. Consider the following strategies:
- Research similar items on platforms like Etsy to gauge market prices.
- Account for the uniqueness of each piece—custom and personalized art can command higher prices.
- Offer different sizes and styles, from small accent pieces to large, intricate displays.
- Implement tiered pricing: simpler designs can be priced lower, while complex ones, like those incorporating rare shells, can be priced higher.
Small wall art pieces might sell for $30 to $70. Larger, more complex pieces could go for $100 to $200 or more. Unique seashell projects that show off creativity and skill can attract buyers willing to pay for special decor.
Seashell Jewelry and Accessories
Seashell jewelry and accessories bring the beach’s beauty to life. They add a personal touch that many love. You can make necklaces, bracelets, and earrings, each with its unique style.
Types of Jewelry to Make
You can craft many types of jewelry with seashells. A pendant necklace is a favorite because it’s naturally beautiful. You can also make:
- Bracelets
- Earrings
- Anklets
- Rings
Every piece shines with its special coastal charm. They are perfect for those who love the beach vibe.
Sourcing Materials
Finding good materials is the first step in making seashell jewelry. You can get shells from:
- Craft Stores: They have a big selection of shells for all kinds of projects.
- Online Retailers: Sites like Etsy and Amazon have many options.
- Beach Combing: Picking up shells yourself is fun and saves money.
You also need jewelry chains, clasps, and hooks to put it all together.
Marketing Your Products
After crafting your seashell jewelry, it’s time to share it with the world. Here’s how to market your work:
- Social Media: Use Instagram and Pinterest to show off your creations. Tags like #seashelljewelry and #coastalstyle help attract more viewers.
- Online Marketplaces: Sell directly to buyers on sites like Etsy.
- Local Craft Shows: Craft fairs and markets are great places to sell and let people see your work up close.
Using different ways to sell can really help you reach more people and increase sales.
Seashell-Embellished Glass Containers
Glass containers with seashell decorations bring the beach into your home. They make great decor pieces. Follow along as we show you how to make one from start to finish.
Choosing the Right Containers
Choosing the right glass is the first step. Look for clear, smooth glass like mason jars or vases. They should have no decorations so you can add your touch with shells.
Best Seashells to Use
Your choice of seashells will shape the look of your craft. Use a variety like scallop shells, starfish, and small conch shells. Different sizes and natural colors make your project pop against the glass.
Step-by-Step Guide
- Clean and dry your glass container thoroughly to ensure that the adhesive sticks well.
- Arrange your seashells on the container without glue to finalize your design.
- Using a thin layer of Mod Podge Gloss, adhere the seashells to the glass. Ensure each shell is pressed firmly to minimize air pockets.
- Allow the first layer of Mod Podge to dry for 15-20 minutes. Repeat with at least two more thin, even layers for optimal sealing.
- Let the finished project cure for up to 24 hours before handling to ensure the adhesive is fully set.
- Optionally, you can add a final coat of Mod Podge for added durability, especially if your glass container crafts will be handled frequently.
Making each shell takes about 15 minutes, but they need up to 24 hours to fully dry. Add these to your beach-themed decor and see how they draw everyone’s attention.
8 Creative Ways to Use Seashells in DIY Coastal Decor to Sell
Looking for fun seashell craft ideas? They can make your home look great and might even earn you some money. These handmade seashell decor projects are great for mixing creativity and business. You can find seashells easily, whether you’re by the sea or not. They’re perfect for making unique DIY coastal decor to sell. Let’s look into eight creative ways to turn simple seashells into decor items people will want to buy:
- Seashell Wall Art: Make wall art by arranging seashells or mixing them with old finds. Anyone can enjoy this, from kids to adults. It’s a hit for all ages.
- Seashell Jewelry: Create one-of-a-kind earrings, necklaces, and bracelets. Seashell jewelry is sought after. It stands out as a handmade treasure for those seeking unique pieces.
- Decorative Seashell Vases: Stick seashells onto vases of glass or ceramic. They’re ideal for adding a seaside vibe to any space. Interior designers and home stagers love these.
- Seashell Candle Holders: Upgrade plain candle holders with seashells. This affordable craft appeals to those watching their budget.
- Seashell Coasters: Use resin to embed seashells in coasters. Their unique look and usefulness make them a favorite. People love adding a bit of the beach to their homes.
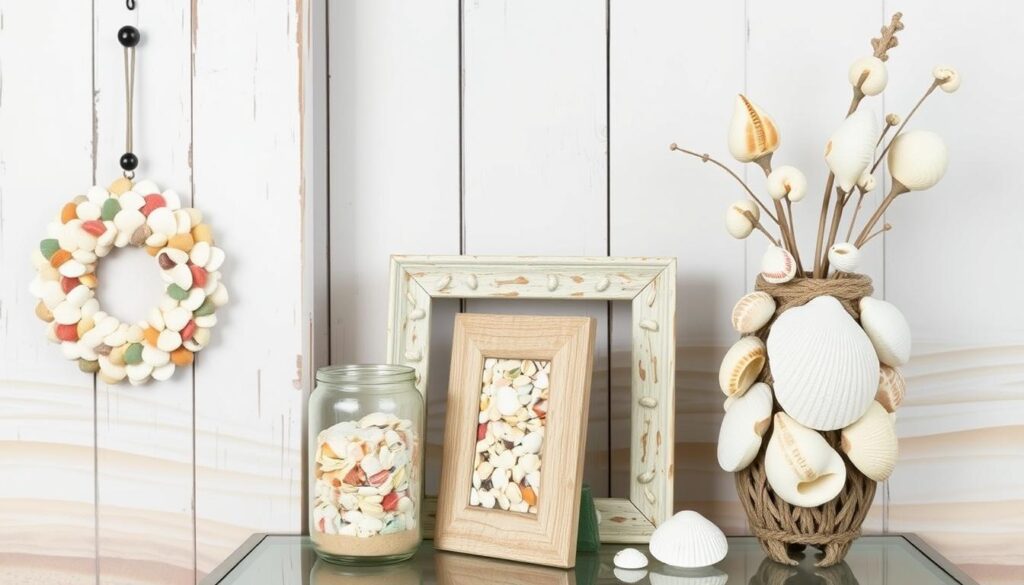
- Seashell Wreaths: Seashell wreaths are in demand, especially during holidays. They are great for all-year display or seasonal decor. These bring a coastal vibe to any celebration.
- Seashell Mirrors: Enhance mirrors with seashells for a beachy look. These statement pieces are popular in home decor. They make any coastal-themed room stand out.
- Seashell Christmas Ornaments: Crafting seashell ornaments is a year-round activity. It boosts sales repeatedly. These can range from easy designs for beginners to complex ones for experienced crafters.
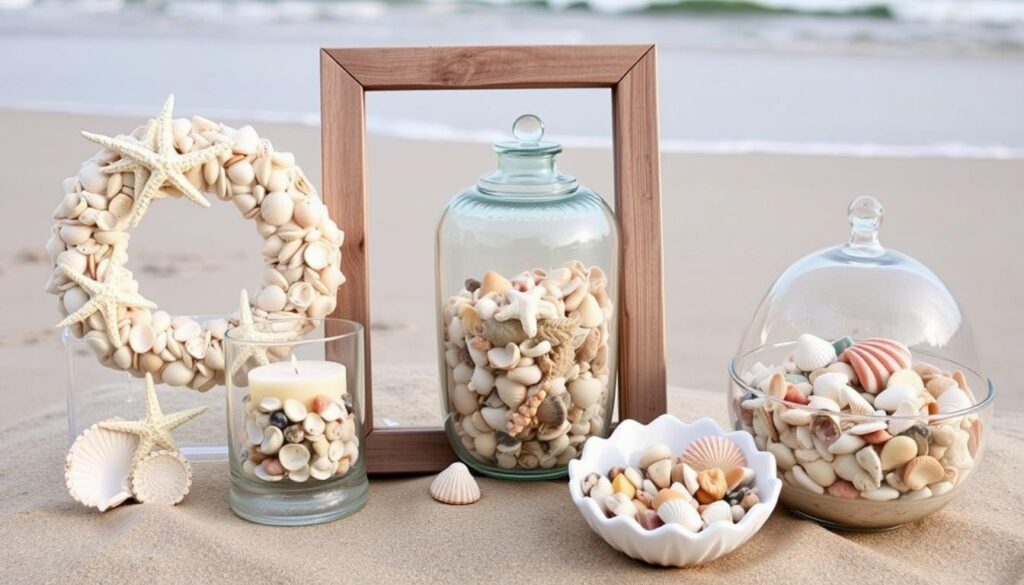
And there’s more you can do with seashells. Your imagination is the only limit. You can expand to seashell night lights, wedding nautical cards, or even seashell-stamped pillows. You can get crafting materials from Amazon or local shops. You can create things like air plants in sea urchin shells, crushed shell garden beds, or seashell lights. With wide appeal and the chance for sales all year, your handmade seashell decor can attract many customers. This could turn into a profitable project for your creative skills.
DIY Seashell Wind Chimes
Making seashell wind chimes is a fun way to bring the beach feeling into your home. This project is great for those who love to remember the beach and want to add that vibe to their place. Here’s a simple guide to making elegant seashell wind chimes.
Tools and Materials
First, collect all your materials and tools. You’ll need various seashells, clear acrylic crystals, a rope (36 to 42 inches long), a drill, and a hot glue gun. These items will help you create beautiful and lasting seaside projects.
- Seashells (different sizes and shapes including capiz shells and White Pencil Starfish)
- 36 to 42 inches of rope
- Clear acrylic crystals
- Hot glue gun and glue sticks
- Drill (for making holes in shells)
Construction Tips
When you’re ready, start by making small holes in each shell. Be careful during this step—you might want to practice on a few shells first to prevent any breaks. Next, thread the rope through the holes, adding shells and acrylic crystals in turns for sparkle.
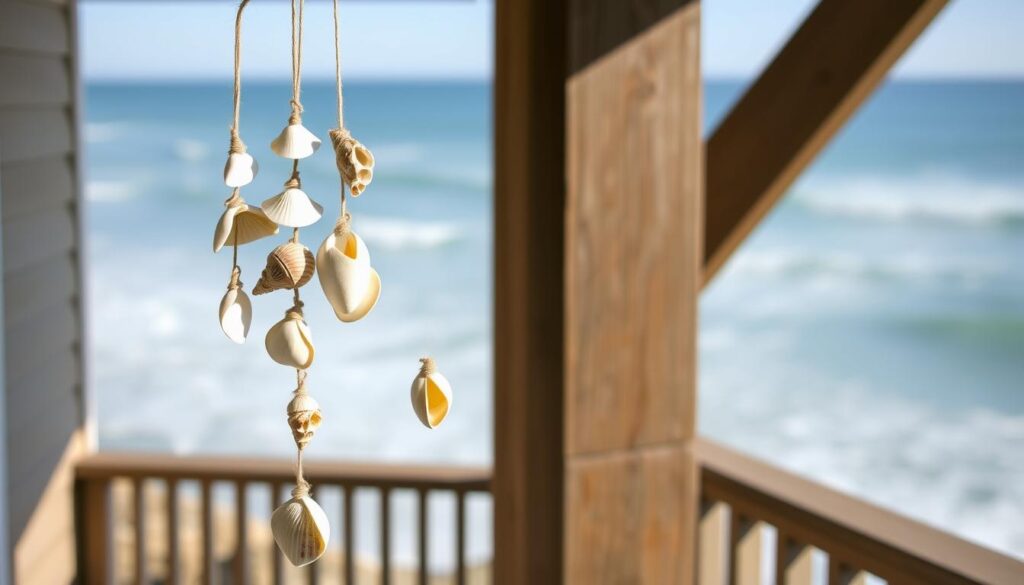
Make sure your knots are tight so the shells stay put. Placing the biggest shell or a starfish in the center makes it stand out. You can change the rope length to get the look you want.
Perfect Places to Hang
Not sure where to hang your wind chimes? They’re great for adding charm to many spots in your home. Their soft sounds can calm you in these places:
- Porch or patio: Enjoy a sea breeze feel while relaxing outdoors.
- Garden: They’ll complement your plants or flowers nicely.
- Window: Sunlight will hit the crystals, creating magical indoor sparkles.
A survey found that 32% of DIY fans like home and garden projects. This makes seashell wind chimes a favorite choice. Also, sales of coastal decor can go up by 25% in summer, showing they’re in demand.
Remember, your DIY wind chimes are more than decor. They’re a personal creation that brings memories and beauty. Have fun making them and enjoy the peaceful sounds they add to your home!
Coastal Seashell Vases
Turning simple vases into stunning coastal shell crafts can make your beach house look great. All you need are a few easy steps. Then, you can make beautiful seashell vase DIY projects that will wow your guests or craft fair visitors.
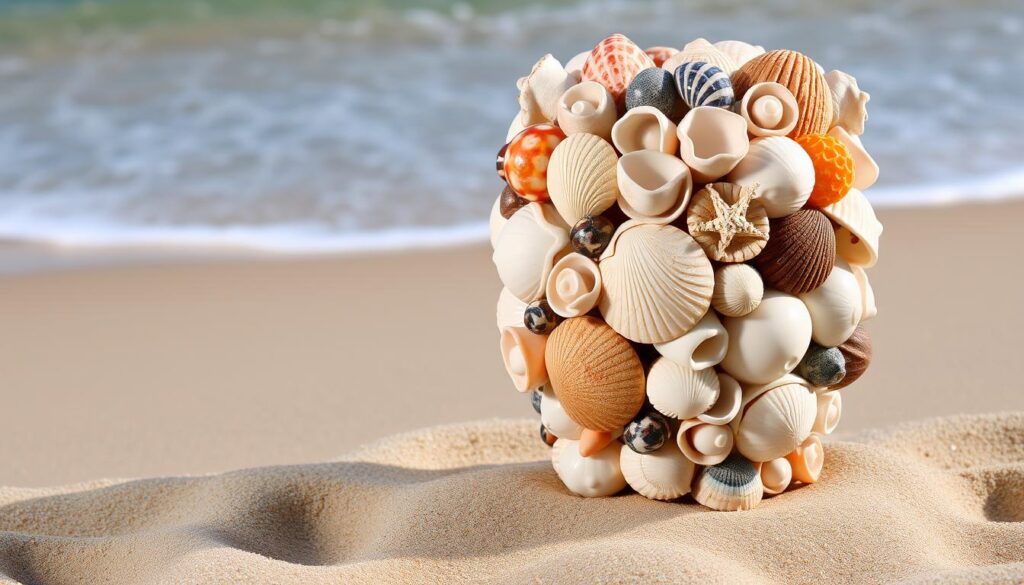
Choosing the right vase is your first step. Typically, larger vases are about 8 inches tall and 6 inches wide. Smaller ones might be 6 inches tall and 4.5 inches wide. Make sure the vase’s opening is big enough for chicken wire. It should be at least 4 inches wider than the vase’s mouth.
To attach seashells, epoxy glue works best. Over half of DIY enthusiasts use it because it keeps the shells firmly in place. Arrange your shells in a beautiful pattern. A consistent pattern and strong glue are vital for that coastal look.
Hydrangeas make a great addition to your vase. Since they need a lot of water, fill the vase two-thirds full. Change the water every other day for the freshest look.
Using Crowning Glory spray helps flowers last longer, drying in 30 to 60 minutes. Dipping stems in 1/2 inch of alum powder also helps hydrangeas stay fresh.
Always cut flower stems at a 45-degree angle. This helps them absorb more water. That way, your flowers will stay bright and beautiful longer.
Coastal decor, like seashell vases, is very popular. Over 60% of shoppers love this style, and 75% of them enjoy making their own. This shows how much people love these unique decorations.
In summer, the demand for coastal decor jumps, leading to a 30% increase in sales. So, making seashell vases isn’t just fun. It could also be a good way to earn money.
Seashell Coasters
Making seashell coasters is a great way to bring the ocean’s beauty into your home. These coasters are perfect for beach-themed rooms and are quite popular. About 72 people have looked up seashell crafts on Pinterest recently. This shows many people like these DIY projects. We’ll discuss how to use resin, share design ideas, and give tips on taking care of your coasters.
Resin Techniques
Using resin can give your coasters a shiny, durable finish that looks like glass. Check out this resin crafts tutorial:
- Prepare your workspace by ensuring it’s clean and well-ventilated.
- Mix a two-part epoxy resin in a 1:1 ratio. You’ll need about 2 oz of epoxy per coaster.
- Pour a thin layer of resin into your mold and let it set for about 20 minutes.
- Place your seashells on the resin layer.
- Cover the shells with another layer of resin.
- Let the resin harden for around 4 hours until it’s solid.
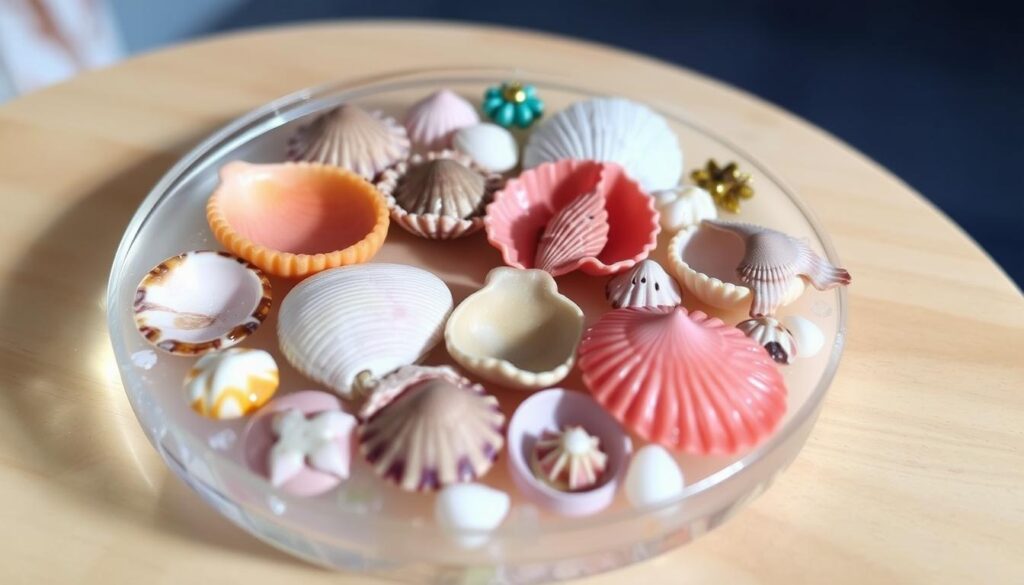
Design Ideas
There are countless ways to design your seashell resin art. Here are a few ideas to inspire you:
- Simple Elegance: Choose just one type of seashell for a simple look.
- Colorful Patterns: Add colored sand or tiny beads with the shells.
- Personalized Touch: Use small letters or charms to make them special gifts.
Over 25 beautiful seashell craft ideas are perfect for summer. You’ll find many ways to express your creativity.
Care Instructions
After making your seashell coasters, it’s important to keep them looking good:
- Don’t put hot items directly on them to avoid damage.
- Wipe them with a soft cloth. Stay away from harsh cleaners or rough scrubbers.
- Keep them in a cool, dry spot when you’re not using them to maintain their beauty.
By caring for your coasters well, they will continue to enhance your beachy decor. They’ll showcase the lovely details of seashell resin art for a long time.
Seashell Christmas Ornaments
Making seashell Christmas decor is a great way to add a beachy feel to your holiday fun. It started in summer 2021 when seashell Christmas ornaments became popular as thoughtful presents. Each ornament is unique because of the different colors and designs, making every piece special.
Here are some tips for successful shell ornaments diy projects:
“Each seashell ornament requires a drying time of 24 hours before it’s ready for gifting.”
- Materials: Gather many seashells of various shapes and sizes, from your travels or local shores.
- Preparation: Make sure to clean the shells well and let them dry. It might take up to a day, so plan ahead.
Using wood rounds that are 5 inches or bigger is best for shell hearts decor. Place them in groups of three to make everything look better together. Because of increased interest in holiday shell crafts, more people now buy handmade, personalized Christmas ornaments. This shows a shift towards decorations with a beach theme.
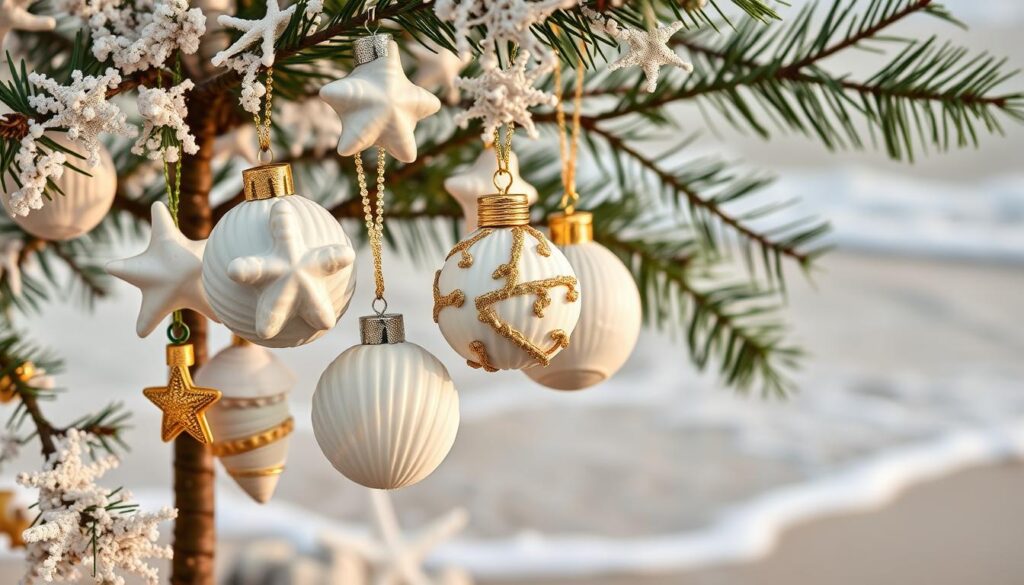
I’ve been creating and selling seashell ornaments diy for 20 years. It’s wonderful to see more and more people loving them. At first, not many thought of seashells as holiday decorations. Now, they’re enjoyed by many all over the country. This journey has taught me about the hard work it takes, crafting from dawn till dusk.
If you want to try making these, consider joining a seashell ornament class on November 23rd. You can look up the schedule and call to sign up. Jump into this fun project, and make your holidays more beachy with your own seashell Christmas decor!
Decorative Seashell Wreaths
Seashell wreaths bring the beach vibe into your home beautifully and flexibly. They are a top choice for beach decor DIY projects. We’ll look at how to make these sparkling decorations, focusing on their various sizes and styles, how to put them together, and how to decorate them for different seasons.
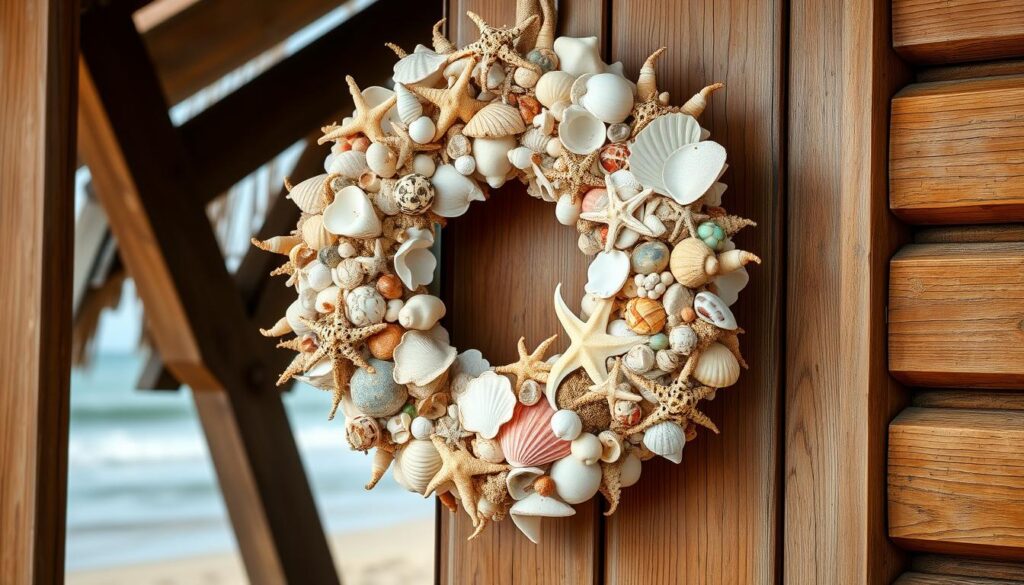
Size and Style Variations
Many options exist for making seashell wreaths. You can start with a 12-inch round foam. You might prefer using grapevine or wire frames, depending on what look you’re aiming for. Whether you want something that feels like a rustic beach cottage or more modern boho, there’s flexibility to fit your style.
Glue and Assembly Tips
Use E6000 glue for a strong hold, instead of hot glue which might not last as long. A hot glue gun with clear sticks works well for fast assembly. Try to use about 100 medium-sized shells per wreath, placing roughly 3 shells per row for an even look. Twine and white cotton rope are great for ties and hanging, making your wreath both pretty and functional.
Seasonal Adornments
To make your wreaths fit the season, add seasonal touches. For spring, pastel shells and faux flowers are perfect. Small ornaments or ribbons will make them festive for the holidays. These changes help keep your seashell wreaths fresh and fitting all year long.
Seashell Candle Holders
Creating seashell candle holders DIY is both beautiful and useful. They’re perfect for beachy decorations and selling as crafts. They’re affordable and simple to make, with supplies from the Dollar Tree.
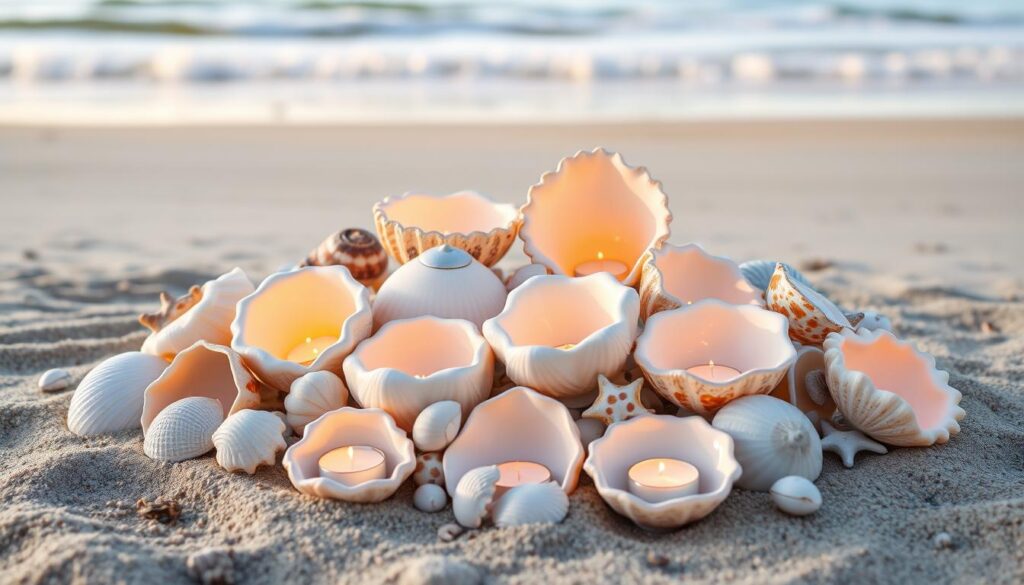
To make seashell candle holders, you need: a glass vase, craft rope, sand, seashells, and a pillar candle. The total cost is only $5.00 from Dollar Tree. Here’s what each item costs:
- Glass Vase: $1.00
- Craft Rope: $1.00
- Sand: $1.00
- Seashells: $1.00
- Pillar Candle: $1.00 (availability may vary)
It takes just about five minutes to make one, perfect for fun projects or crafting with kids. For those wanting to sell seashell crafts, they’re great for beach themed decorations.
Here’s a simple guide to make your seashell candle holders:
- Fill the glass vase bottom with sand.
- Wrap the vase with craft rope. Use glue to secure it if needed.
- Add seashells over the sand or glue them to the vase. Use epoxy or glue.
- Put the pillar candle in the middle of the vase, making sure it’s steady.
Adding seashell candle holders to your coastal decor brightens up many spaces. They work well in bathrooms, kitchens, and living rooms.
The crafting world loves repurposing and upcycling, making seashell candle holders a hit. They fit right in with the Thrifty Style Team’s DIY ideas. These projects are loved by those enjoying coastal styles.
Seashell candle holders DIY are great for anyone wanting to decorate on a budget. They’re a smart pick for budget-friendly decor.
Seashell decor is loved for its beauty and versatility. It matches many styles, from modern to rustic beach. Look in local or online stores for more items that go well with your seashell candle holders diy.
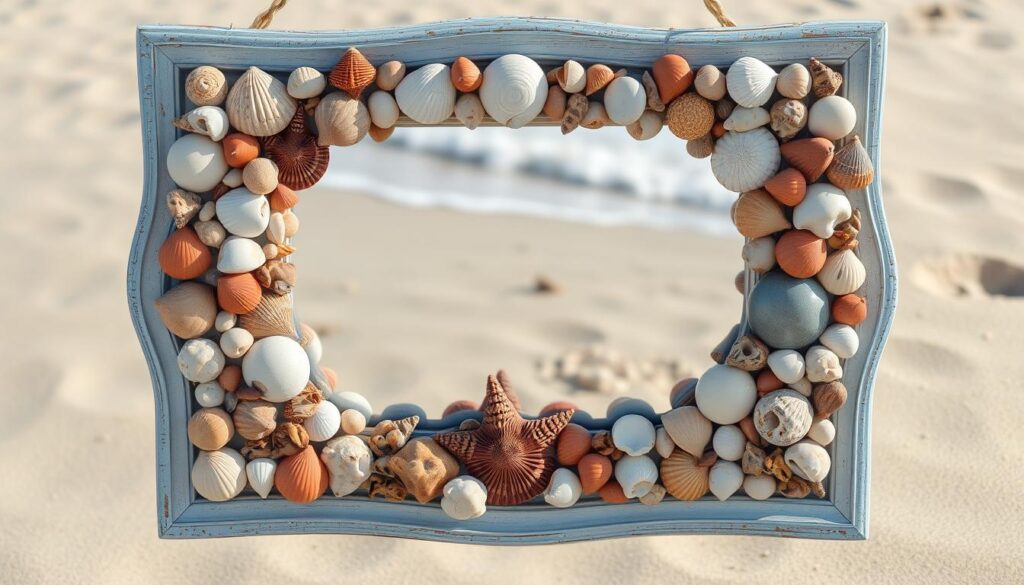
Seashell Mirrors
Making a seashell mirror gives a special beach feel to any room. It’s a project that DIY fans can easily do. With more people fixing up their homes lately, DIY decorations are getting very popular. Coastal mirrors are especially loved because they make a home feel calm, like the beach.
Choosing the Mirror Base
The first step in making a seashell mirror is to pick the right mirror. Choose mirrors from thrift stores or garage sales. These mirrors are valued more because they are upcycled. People are ready to pay extra for high-quality, sustainable decorations. Think about the style you want—Modern, Cottage Chic, or Rustic Beach Cottage. The size and type of the mirror’s frame are important for attaching the shells and getting the look you want.
Placement of Seashells
Putting the seashells on the mirror frame is where you get to be creative. Start with big shells for the main spots and use small, detailed shells to fill in spaces. Mix in different types of shells, like sand dollars, starfish, and conch shells, for variety. The design should look natural and not too perfect. Use strong glue to make sure the shells stay on for a long time.
Finishing Touches
To finish your seashell mirror, it’s about the small details that make it stand out. You might add paint to match the room or a clear coat to show off the shells’ beauty and protect them. If you’re selling your mirrors, how you package them and the story behind them adds value. Studies show making things by hand can make you happier, and sharing your work online helps grow the DIY community.
Oyster Shell Ring Dishes
Turning oyster shells into elegant ring dishes is both fun and profitable. These crafts are great for personal use or to sell at artisan markets. You can get large oyster shells from Amazon, Craigslist, or local seafood spots.
To start, clean the shells well with a mix of water and Clorox. Let them soak for a few hours to get rid of any smell. After soaking, rinse and dry them thoroughly—this might take days. Then, you’re ready to add your special touch to the dishes.
For a fancy edge, use gold acrylic paint. This makes the dishes look like expensive ceramic pieces. It’s a simple way to add sophistication to your creation.
For detailed designs, try decoupage. Tissue paper creates a lovely finish but may jam printers, while regular paper is stronger. Use Mod Podge to stick your design onto the shell. This also makes the dish last longer.
Oyster shell crafts are pretty and useful, making them great gifts. With the growing popularity of unique home items, your shell dishes will surely be popular. By making these, you can enjoy a fun, profitable hobby and tap into a growing market.

