The air felt crisp, and snowflakes danced in the morning light. Parents and children were buzzing around the community center. Our neighborhood was in the midst of its annual winter bake sale, with festive vibes everywhere. Tables were covered in holiday decorations and displayed a variety of treats. These treats were sure to make anyone’s day better. Sarah, a dedicated baker, was beaming as she set down her famous Oreo brownies. There was also an assortment of cookies, pies, and unique sweets. The room filled with the aroma of freshly baked goods, adding to the excitement.
Organizing a winter bake sale for holiday fundraising needs creativity and smart planning. The joy people feel when they find delicious desserts is unmatched. Choosing the right recipes plays a huge role in the event’s success. It’s best to pick treats that are easy to serve and package. This guarantees a smooth and profitable sale. You can offer creamy desserts, pumpkin bars, and cinnamon roll cookies. Each offers a taste of the holiday spirit, leaving a lasting impression on everyone.
Key Takeaways
- Plan your winter bake sale with a variety of festive and unique treats to attract a wide audience.
- Include both classic favorites and innovative new recipes to cater to diverse tastes.
- Select easy-to-serve baked goods that are also visually appealing to enhance your display.
- Consider incorporating popular seasonal flavors like pumpkin and caramel to draw in more customers.
- Optimize packaging for takeaways, ensuring treats remain fresh and presentable.
- Blend contributions from established bakers and newcomers to showcase a variety of culinary talents.
Deliciously Decadent Oreo Brownies
Looking for the perfect treat for a bake sale? Try this Oreo brownies recipe. It’s great for holiday fundraisers or a family treat. These brownies have a rich, fudgy base with Oreo chunks. Plus, there’s a delicious Oreo-studded frosting on top. Let’s make your brownies the star of the show!
Recipe Ingredients
- 2 sticks of butter
- 1 cup granulated sugar
- 3/4 cup light brown sugar
- 2 large eggs
- 1 tablespoon pure vanilla extract
- 2 1/2 cups all-purpose flour
- 1 teaspoon baking soda
- 1 teaspoon salt
- 2 cups chocolate chips
- 1 package of Double Stuffed Oreos (30 cookies)
- 1 Family Size (9×13) brownie mix
- 1/4 cup hot fudge topping
Baking Instructions
- Preheat the oven to 350 degrees Fahrenheit. Line a 9×13-inch baking pan with parchment paper.
- Prepare the brownie mix as directed on the package. Spread the batter in the pan.
- Layer 24 Double Stuf Oreos on top of the brownie batter.
- Bake for about 45-55 minutes. Use a toothpick to check if it’s done.
- While the brownies bake, make the cookies & cream buttercream. Beat 3/4 cup of unsalted butter until creamy. Gradually add 3 cups of confectioners’ sugar, 2 tablespoons of milk, 1/2 teaspoon of vanilla extract, and crushed Oreos (6 cookies) until fluffy.
- After cooling the brownies, spread the buttercream on top with an offset spatula.
- For the topping, melt 1/2 cup of unsalted butter and 1 cup of semi-sweet chocolate chips. Drizzle this over the frosting and let it set.
Tips for Perfect Brownies
- Use high-quality chocolate and real butter for the best taste.
- Avoid overmixing the batter to keep the brownies fudgy.
- Add peppermint extract to the frosting for a festive touch.
- Try red velvet cake mix for a Valentine’s Day twist.
- Store the brownies in the fridge, covered, for up to a week.
- Make the brownies three days in advance. Store the components separately and assemble before the event.
Classic Salted Caramel Cookies
If you’re searching for dessert ideas for selling at your bake sale, think about making salted caramel cookies. They strike the perfect mix of sweet and salty. This makes them a hit with both grown-ups and kids.
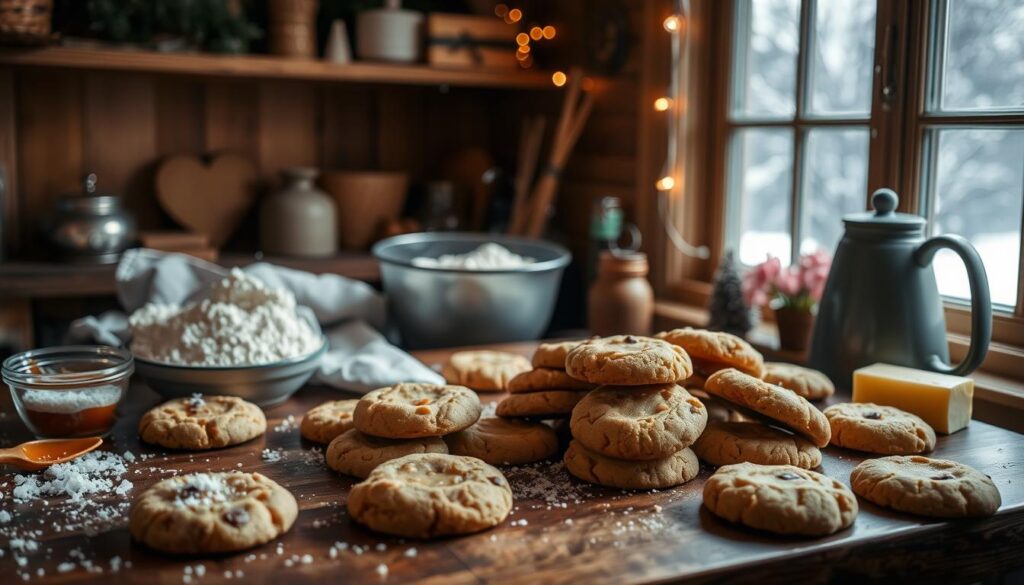
To whip up these yummy cookies, you’ll need some basic and other special stuff. The mix for the cookies includes unsalted butter, granulated and brown sugars, eggs, vanilla, flour, and baking soda. For a tasty cream cheese frosting, mix cream cheese, butter, and powdered sugar together.
The real star of the salted caramel cookies recipe is the caramel topping. Made with caramels and milk, it adds a sweet and chewy touch. When you bake them at 375°F for 10-12 minutes, they’re soft and chewy inside with crispy edges.
“These cookies always sell out first at our bake sales,” said one enthusiastic baker during our survey of food sale ideas.
Not only are these cookies delicious, but they look great too, making them perfect dessert ideas for selling. They travel well, so they look good and taste fresh at your sale.
If you’re raising funds or just want to make your event special, try this salted caramel cookies recipe. Your guests will love the rich taste and the amazing texture of these cookies.
Pumpkin Bars: A Taste of Fall
The scent of fresh pumpkin bars brings fall to life. This pumpkin bars recipe is ideal for your upcoming fall bake sale. It has a moist, spicy pumpkin base and creamy frosting. It’s a hit whether you love baking or you’re starting a baking business.
Ingredients You’ll Need
Here are the ingredients for these tasty pumpkin bars:
- 1 15-oz can pumpkin puree
- 3 large eggs
- 1 cup neutral oil
- 1 cup granulated sugar
- ½ cup light brown sugar
- 1 tsp vanilla extract
- 2 cups all-purpose flour
- ½ tsp kosher salt
- 1 tsp baking soda
- 1 tsp baking powder
- 2 tsp ground cinnamon
To make the frosting, you need:
- 8 oz cream cheese
- 4 tbsp unsalted butter
- ½ tsp vanilla extract
- 2 cups sifted powdered sugar
Steps to Bake
Here’s how to make your pumpkin bars:
- Preheat your oven to 350°F (175°C) and grease a 9×13-inch baking pan.
- Whisk the pumpkin puree, eggs, oil, granulated sugar, brown sugar, and vanilla in a large bowl.
- Mix the flour, salt, baking soda, baking powder, and cinnamon in another bowl.
- Slowly add the dry mix to the wet mix, stirring until just blended.
- Pour the batter into the pan and spread evenly.
- Bake for 25-35 minutes, or until a toothpick comes out clean.
- While baking, beat the cream cheese and butter until smooth. Add vanilla and powdered sugar, beating into a creamy spread.
- After cooling the bars, frost them evenly.
These bars make about 18 servings. They stay fresh in an airtight container at room temp for 3 days, or refrigerated for 5 days. They’re perfect for a fall bake sale or to add to your baking business. These bars will definitely be a fall favorite.
Unique Spin: Cinnamon Roll Cookies
If you’re looking to add a touch of innovation to your home bakery business, these unique and delightful Cinnamon Roll Cookies are a must-try. This cinnamon roll cookies recipe takes the beloved flavors of traditional cinnamon rolls and transforms them into a convenient and delicious cookie form. They’re perfect for baked items to sell at any bake sale.
The recipe makes about 36 cookies, ensuring you have plenty to go around. The total prep time is roughly 2 hours and 20 minutes. This time includes dough preparation and chilling.
When rolling the dough, aim for a 12×10-inch rectangle. This will give you the perfect thickness, about 1/2 inch per cookie. Once your dough is rolled and ready, slice and bake the cookies at 375°F (190°C) for 10-12 minutes.
These cookies keep all the cinnamon goodness and are topped with a sweet maple glaze that hardens in 15-30 minutes. They look beautiful. The icing, made with 1 cup of confectioners’ sugar, 3 tablespoons of milk, and 1/2 teaspoon of pure vanilla extract, is the perfect touch to these delightful treats.
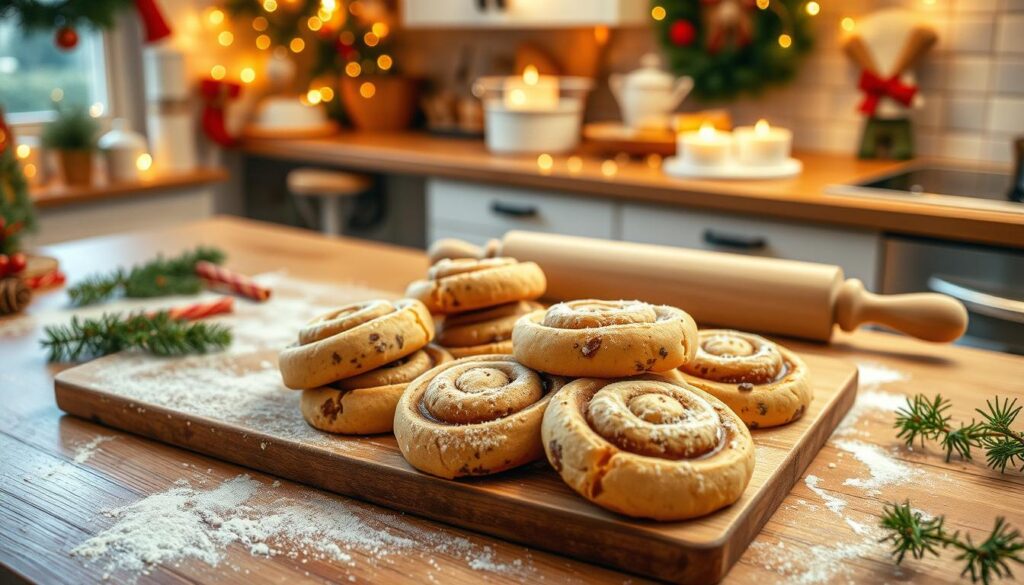
The dough can be frozen for up to 3 months, an excellent option for a busy home bakery business. The cookies themselves also freeze well, with or without icing, for up to 3 months. This means you can prepare well in advance for any event or bake sale.
According to reviews, this cinnamon roll cookies recipe has an average rating of 4.5 stars out of 5 from 44 reviewers. It shows how popular they are among home bakers. Each cookie with glaze contains 136 kcal, 17g of carbohydrates, 1g of protein, and 7g of fat. These tantalizing cookies will surely stand out among your baked items to sell. Your customers will want more.
Gooey and Crunchy Scotcheroos
Scotcheroos combine crispy rice, peanut butter, chocolate, and butterscotch. They’re easy to make and need no baking. This makes them great for bake sales and food businesses.
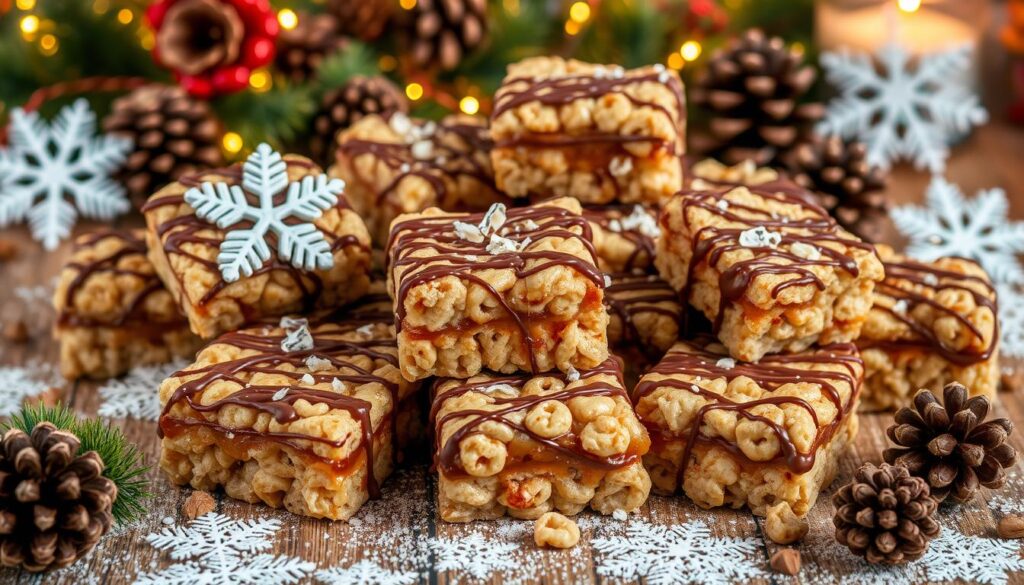
Ingredients
- ¼ cup (57 g) salted butter
- 1 ¼ cups (425 g) light corn syrup
- ½ cup (106 g) granulated sugar
- ½ cup (106 g) packed light brown sugar
- 1 teaspoon vanilla extract
- 1 ¼ cups (320 g) creamy peanut butter
- 8 cups (227 g) crisp rice cereal
- 1 cup (170 g) milk or semisweet chocolate chips
- 1 cup (170 g) butterscotch chips
Preparation Steps
- Start by lining a 9×13-inch baking pan with parchment paper or grease it lightly.
- Melt the butter in a large pan over medium heat. Then mix in the corn syrup, both sugars, and stir well.
- Let the mix simmer but don’t boil it. Keep it soft. Take off the heat and add vanilla and peanut butter until smooth.
- Mix in the rice cereal so it’s fully covered. Spread it in the baking pan evenly.
- In a microwave-safe bowl, mix chocolate and butterscotch chips. Heat for 30 seconds at a time, stirring until smooth.
- Spread the melted mix over the cereal layer smoothly. Let it set at room temperature or refrigerate to speed it up.
- Once set, cut into bars. They’re best enjoyed at room temperature for the right texture.
Scotcheroos are perfect for both sweet lovers and entrepreneurs. They’re easy, tasty, and always popular. That’s why they remain a top choice for many!
Festive Halloween Brownies
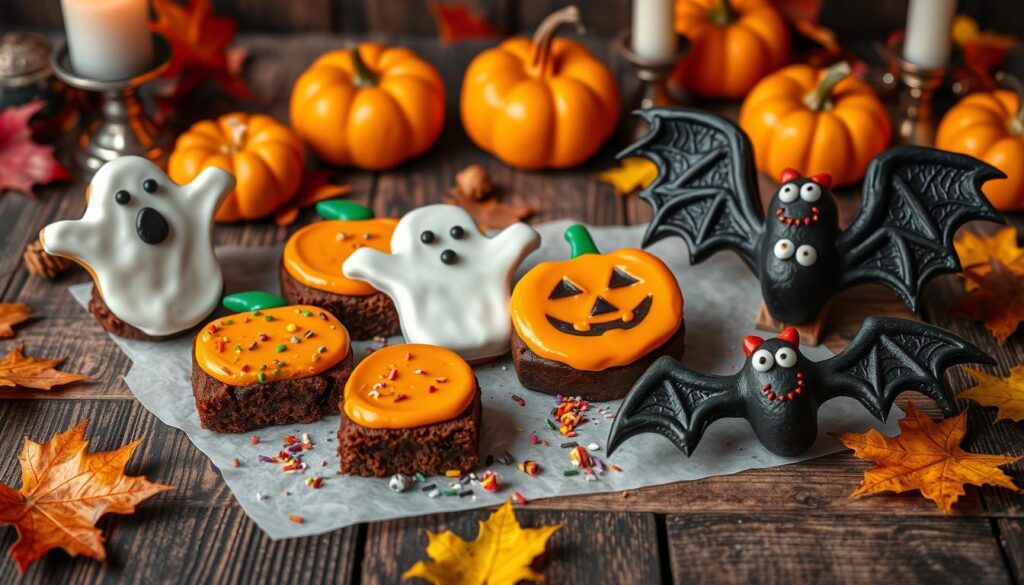
Halloween brownies bring a classic chocolate treat to life with holiday candies. These brownies are great for bake sales or any festive event. They are the perfect choice for small business desserts, offering a unique and tasty option.
To create this Halloween brownies recipe, gather these ingredients:
- ¾ cup unsalted butter
- 1 cup white sugar
- ¾ cup all-purpose flour
- ½ teaspoon salt
- 1 tablespoon unsweetened cocoa powder
- 1 teaspoon pure vanilla extract
- ½ teaspoon coffee extract (optional)
- ½ teaspoon pure almond extract
- 6 oz semisweet chocolate
- 3 large eggs
“These delicious brownies are not only tasty but also visually appealing, making them perfect for any festive occasion.”
- Preheat your oven to 350ºF (180ºC).
- Melt the unsalted butter and semisweet chocolate together in a saucepan over low heat. Stir until smooth and set aside to cool slightly.
- In a mixing bowl, whisk together the white sugar, eggs, vanilla extract, coffee extract, and almond extract until well combined.
- Gradually add the melted chocolate mixture to the egg mixture, stirring constantly.
- Sift the flour, cocoa powder, and salt into the chocolate mixture and fold gently until just combined. Small lumps are okay.
- Pour the batter into a greased baking dish and smooth the top. Decorate with candies like Reese’s Peanut Butter cups and other seasonal treats.
- Bake for 22 to 25 minutes, or until a toothpick comes out with a few moist crumbs.
Your Halloween brownies recipe is ready! After baking, let them cool completely before cutting into squares. They can stay fresh at room temperature for up to four days or be frozen for a month. These brownies are excellent desserts for small business ventures, especially during the Halloween season.
Winter Bake Sale Ideas: Standout Treats
Winter bake sales are a great chance to show off tasty recipes and eye-catching presentations. We’ll explore top winter bake sale ideas, how to make these treats stand out, and tips for the best packaging.
Why They’re Popular
Everyone loves standout treats at bake sales because they look and taste great. Including a variety like chocolate chip cookies ensures there’s a treat for each guest. Using ingredients like oats and fruits appeals to those who prefer healthier options. Plus, adding extras like walnuts or butterscotch chips lets you tailor your treats to different tastes.
How to Make Them
Making bake sale treats is fun and should involve creativity. Start with classic recipes or try new ones like No-Bake Pretzel Bites that avoid major allergens. They’re easy to make and need few tools. Mixing traditional and unique items, like homemade Hostess Cupcakes and Cinnamon Roll Cookies, keeps your stand busy. Don’t forget to offer options for those with dietary restrictions, like vegan or gluten-free treats.
Best Packaging Tips
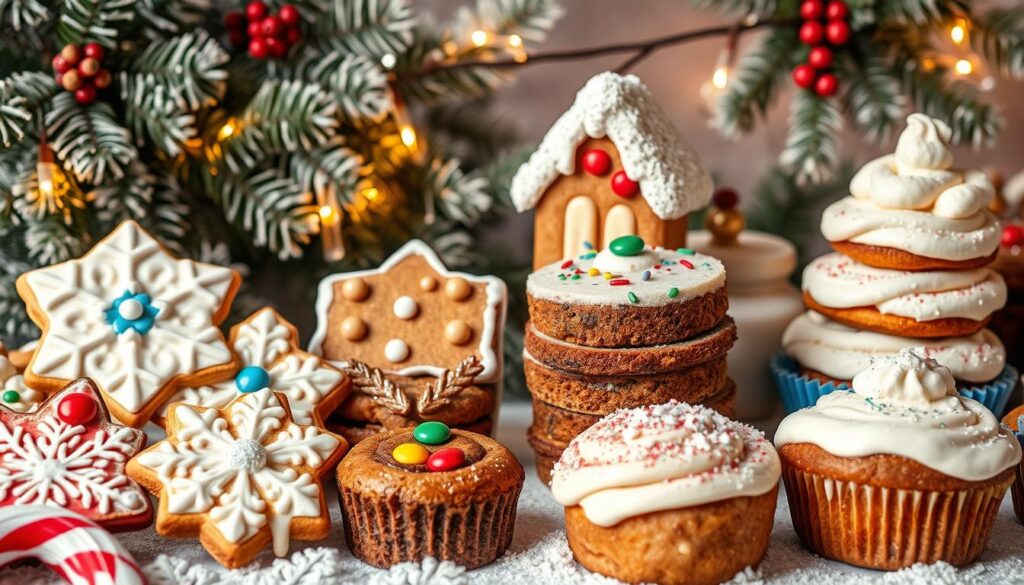
Packaging plays a key role in attracting customers. Using clear wraps and custom tags gives your goodies a professional finish. It lets customers see what they’re buying while adding a personal touch. Offer a variety of items, like Rice Krispy Treats and Apple Pie Cookies, to appeal to everyone. Remember, the ease of carrying and serving is important. Sheet cakes and crumb cakes are perfect for this reason.
Seasonal Pumpkin Sugar Cookies
Looking to bring a bit of fall into your summer baking? Try out the Pumpkin Sugar Cookies Recipe. It blends pumpkin spice flavors and pumpkin puree icing. This captures the essence of fall perfectly.
Here are the essential ingredients you’ll need:
- 1 cup (220g) unsalted butter
- 1 1/2 cups (280g) dark brown sugar, packed
- 1 large egg yolk
- 3 tbsp pure maple syrup
- 1 tsp vanilla extract
- 1/3 cup (80g) pumpkin puree
- 2 1/4 cups (280g) all-purpose flour
- 1 tsp baking soda
- 1/2 tsp baking powder
- 1/2 tsp salt
- 1 1/2 tsp pumpkin pie spice
- 1/2 tsp cinnamon
Making these cookies is easy and quick, perfect for summer. Here’s the process:
- Preheat your oven to 350°F (175°C).
- Cream the unsalted butter and dark brown sugar until fluffy.
- Mix in the egg yolk, maple syrup, vanilla, and pumpkin puree until smooth.
- In a different bowl, mix flour, baking soda, powder, salt, pumpkin pie spice, and cinnamon.
- Slowly add the dry ingredients to the wet ones, mixing well.
- Form cookies with a scoop or cup, and place them on a baking sheet.
Bake at 350°F for 12-15 minutes. Let them cool on the sheet for a few minutes. Then move them to a cooling rack. This makes sure they set right.
To sweeten them even more, use this mix:
- 2 tbsp brown sugar
- 2 tbsp granulated sugar
- 1 tsp cinnamon
The final touch on pumpkin sugar cookies is key. Decorate with pumpkin spice icing for a festive feel. Mix powdered sugar, pumpkin pie spice, extract, water, and corn syrup. For bright colors, use gel coloring.
This pumpkin sugar cookies recipe makes about 24 cookies. It takes less than 30 minutes, no chilling needed. It’s a quick choice for any day of baking.
These cookies are great for fall or a taste of it in summer. They are a wonderful addition to your baking.
Don’t forget to post your baking results on social media. Use @butternutbakery and share how you enjoyed these tasty cookies. Happy baking!
Baklava Bites: A Taste of the Mediterranean
Searching for unique bake sale items? The Baklava bites recipe is perfect. These mini versions of traditional baklava offer a twist. They combine phyllo pastry, nuts, and honey glaze, drawing attention at events.
Traditional baklava shines in Turkish, Arabic, and Greek cuisines. It’s known for flaky layers and honey syrup. The Baklava bites recipe keeps the classic flavors but simplifies the process.
The bites use premade mini phyllo pastry shells. It speeds up preparation. You’ll need three packages for enough servings.
To create these international dessert ideas, mix chopped nuts, sugar, and cinnamon. Add melted butter to enhance the mix, which goes into the phyllo shells.
Prepare the honey syrup with water, sugar, honey, and lemon juice. It cooks in about 15 minutes. Fill the shells, then bake at 350 degrees Fahrenheit for 10 minutes. This toasts the nuts slightly.
Drizzle warm syrup over the baked bites. Refrigerate for an hour to blend flavors. Store them in an airtight container for up to two weeks. They stay delicious and crunchy.
Looking for new treats or an exciting international dessert idea? Try Baklava bites. They blend unique flavors and are easy to make. A great pick for bakers looking to impress.
Carmelitas: A Decadent Dessert Bar
Looking for a sweet, indulgent treat for your winter bake sale? Carmelitas are your answer. They are dense and full of flavor, perfect for anyone with a sweet tooth. With caramel and chocolate layers in a buttery oat crust, they’re a top pick for any dessert lineup.
To make these bars, start with ¾ cup (170 g) of unsalted butter and ¾ cup (150 g) of packed light brown sugar. Add 1 ¼ cups (157 g) of flour, 1 cup (100 g) of oats, and ½ teaspoon each of salt and baking soda. You’ll get a delicious oat crust that forms the base of the Carmelitas recipe.
For the caramel filling, melt 35 caramels with ½ cup (115 ml) of heavy cream on low heat. This creates a smooth caramel layer. Add 1 ⅓ cups (225 g) of milk chocolate chips and ¾ cup of semisweet chips. The result? A perfect blend of chocolate and caramel in every bite.
First, bake the base at 350°F for 10 minutes. Add caramel and chocolate chips, then top with the rest of the oat mixture. Bake again for 15-20 minutes. Let them cool in an airtight container in the fridge. For the best flavor, enjoy them at room temperature.
Each bar has around 355 calories, with 48g of carbs, 4g of protein, 17g of fat, and 34g of sugar. It’s a treat worth indulging in. Decadent desserts like Carmelitas provide Vitamin A, calcium, and iron, amongst other nutrients.
This Carmelitas recipe will win hearts at your holiday bake sale. For the freshest flavor, keep them in an airtight container and enjoy within a few days.
Nutella Thumbprints for Nut Lovers
The Nutella thumbprints recipe is a chocolate lover’s delight. It’s a favorite in bakeries and bake sales. With a soft cookie base and rich Nutella heart, these treats win hearts at events.
Recipe Overview
Making Nutella thumbprints requires simple things: flour, sugar, eggs, and Nutella. Here’s what you need:
- ½ cup butter at room temperature
- ¾ cup sugar
- 2 eggs
- 1 teaspoon vanilla extract
- 2 cups all-purpose flour
- ¼ teaspoon salt
- ½ cup Nutella (or more if you like) for filling
Bake these cookies at 350 degrees for around 12 minutes. Each one has about 90 kcal.
Preparation Guide
Begin by warming your oven to 350 degrees. Cream together the butter and sugar until fluffy. Then, add eggs one by one and the vanilla. Slowly mix in your flour and salt till it blends well. Let the dough cool for 10 minutes for easy handling.
Shape the dough into small spheres and place them on a baking sheet. Press down in the center of each with your thumb. Bake them for 12 minutes until they’re slightly golden around the edges. Right after baking, fill the centers with Nutella.
Baking Tips
Avoid overcooking to keep your Nutella thumbprints soft. Choose quality Nutella for a gooey, delicious center. This makes a perfect contrast with the cookie.
You can prepare the dough a day ahead or freeze before filling for three months. Keep the finished cookies in a Tupperware for up to 3 days.
With these steps, you’ll create perfect Nutella thumbprints every time. They are sure to stand out among bake sale favorites and bakery treats.
Homemade Iced Oatmeal Cookies
Iced oatmeal cookies bring back fond memories. They have warm spices and sweet icing on top. They’re perfect for bake sales. This recipe is easy, letting you make a lot to share.
To start, gather your ingredients including 1 cup (226 g) of melted unsalted butter. You’ll also need 1 cup (200 g) of packed dark brown sugar. And don’t forget ½ cup (100 g) of granulated sugar. For that chewy feel, pulse old fashioned oats in a food processor. Brown sugar, cinnamon, nutmeg, and molasses add flavor.
Preheat the oven to 350°F (175°C). Don’t add too much flour, or your cookies will be dry. Chill the dough for 45 minutes to keep the cookies from spreading. Bake them for 12 minutes. When cool, add icing made from powdered sugar, milk, corn syrup, and vanilla extract. This icing makes the cookies stackable.
You’ll get about 28 cookies per batch, each with roughly 176 calories. They stay fresh for three days at room temperature. Or, you can refrigerate them for up to 10 days. They can be frozen for three months. With a 4.9 rating from 147 reviews, these cookies are a hit.


