It was a quiet Saturday afternoon. The sun shone gently, making warm, golden patterns on the floor. Maria sat at the table, sifting through colorful beads. She pondered her next creation. Recently, she had started making friendship bracelets. She had even sold some at school. Inspired by a craft fair in her town, she wanted to try more boho crafts. She hoped to turn this hobby into a small business.
Boho crafts are great for boosting creativity in kids. They also teach them basic business skills. Kids can make everything from handmade greeting cards to beaded keychains. These DIY boho crafts vary in skill level. They are perfect for sale at local events or online.
In this article, we’ll show you ten boho-themed projects that kids can make and sell. We’ll provide detailed instructions and a materials list for each project. This ensures that young crafters can start their projects feeling confident and excited.
Key Takeaways
- Boho crafts offer a creative outlet and can be turned into a small business project for kids.
- Materials range from beads and yarn to paper and natural elements like dried flowers.
- Popular craft ideas include handmade greeting cards, friendship bracelets, DIY bath bombs, and more.
- These projects cater to various age ranges, from young children to teens.
- Encouraging entrepreneurship through crafting fosters not only creativity but also practical business skills.
Introduction to Boho Crafts for Kids
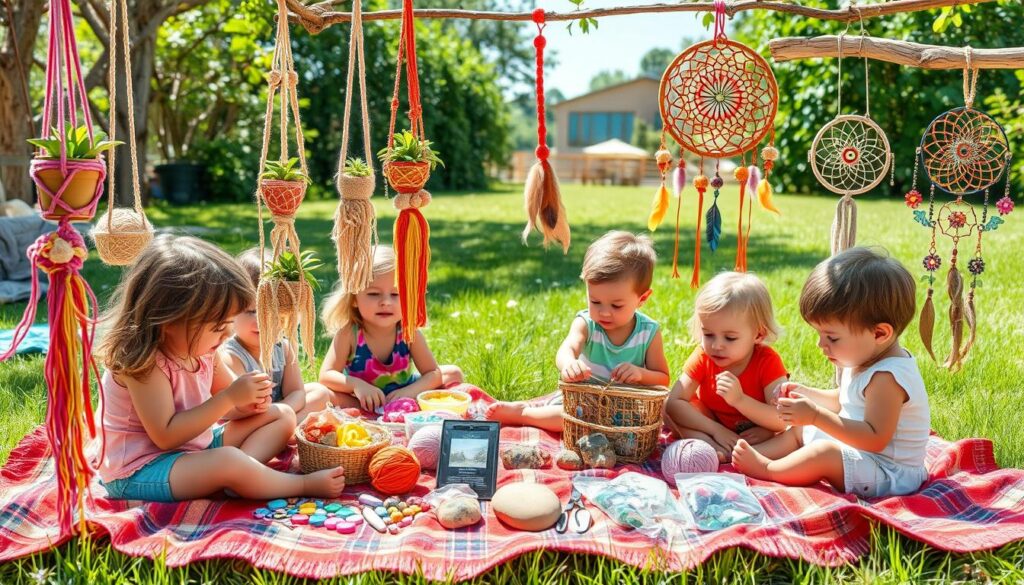
Boho crafts bring a unique sense of freedom and creativity. They use earthy, vibrant materials that kid artists find fun. Making crafts is a great way for children to grow their creativity and fine motor skills. Doing these crafts together helps parents and kids bond. It also makes learning fun and entertaining.
Crafting can turn a simple space into a creative haven. For example, a 10′ x 10′ craft room with French doors becomes inspiring with the right DIY decor. It’s cozy and works well. Using wall storage keeps the room tidy by saving lots of surface space. It blends storage with a place to display art.
Easy crafts for kids often need just a few creative supplies. Projects like beaded butterflies or earrings teach kids to focus and be creative. They also make organizing crafts easier and neater with items like DIY curtains or wall panels.
Craft ideas like beaded snowflakes or rainbow suncatchers are great for all ages. They improve fine motor skills and encourage creative thinking. Making bead trivets or jewelry is fun and useful. It shows kids how creativity can have practical results.
Kids can also enjoy making beaded spiders for Halloween or festive necklaces. These crafts are fun and let kids express themselves artistically. With projects like Perler bead keychains or beaded pumpkins, the possibilities are endless. These crafts offer lots of room for fun and imagination.
This guide aims to inspire families to dive into Boho crafts. It helps your young ones feel confident in their creativity. They can turn simple items like beads and pipe cleaners into beautiful or practical things. These projects offer endless creativity and enjoyment.
Handmade Greeting Cards
Making handmade crafts for kids is not only enjoyable but also profitable. A great activity to start with is creating greeting cards. This allows kids to be creative and learn important crafting skills.
Materials Needed
- Colored cardstock
- Scissors
- Glue stick
- Decorative embellishments (stickers, ribbons, buttons)
- Markers or pens for writing
- Stamps and ink pads (optional)
Step-by-Step Instructions
- Choose a Card Base: Pick a colored cardstock and cut it to your card’s size. Fold it in half to form the base.
- Decorate the Front: Use stickers, ribbons, and buttons for decoration. Add your drawings or writings with markers or pens.
- Personalize the Inside: Inside the card, write a heartfelt message. You can also decorate it with small embellishments.
- Add Final Touches: After decorating, let everything dry properly. Your DIY greeting cards are ready to be shared or sold!
Handmade greeting cards are perfect for handmade crafts for kids. They are fun and easy to make. Each card is unique because of the personal touch added. Kids can make them for any occasion. This is a great way for children to explore their creative and business skills.
Friendship Bracelets
Making friendship bracelets is fun and creative for kids. They’re not just symbols of friendship. They can also be sold at craft fairs or given as gifts. We’ll cover what you need and how to make these beautiful DIY bracelets.
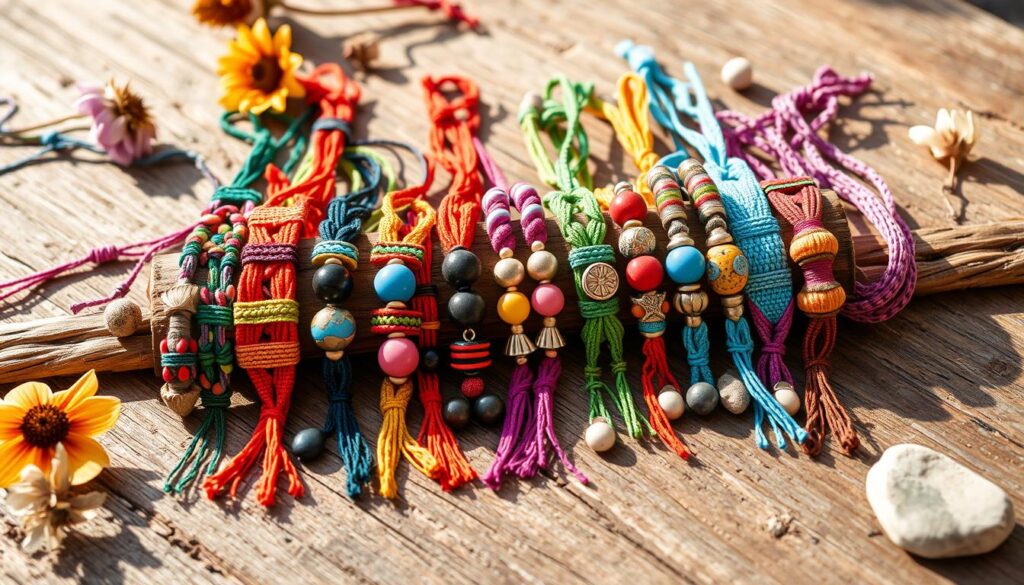
Materials Needed
- Embroidery floss in various colors
- Scissors
- Tape or clipboard
- Beads (optional)
Step-by-Step Instructions
- Select Colors: Pick at least three floss colors. Cut them to about 24 inches long.
- Secure Floss: Tie a simple knot at one end of the floss. Use tape or a clipboard to hold it in place.
- Start Braiding: Split the floss into three groups. Start braiding. You can try different patterns for a cool look.
- Add Beads (Optional): Add beads to the floss if you like. Just put them in as you braid.
- Finish the Bracelet: When it’s long enough, tie a knot at the end. Trim the extra floss. Now, it’s ready!
Crafting friendship bracelets is easy and fun. It’s a great way for kids to show their creative side. They can make them for themselves or others. It’s a cool way to learn crafting, improve skills, and make special gifts.
DIY Bath Bombs
Making DIY bath bombs is an excellent activity for kids. It teaches them how to create homemade spa items. It’s not only enjoyable but also a favored craft to sell. They are perfect as gifts or items to sell at craft fairs.
Materials Needed
- 2 cups baking soda
- 1 cup citric acid
- 6 tablespoons Epsom salt
- 1 tablespoon dried herbs (such as lavender, chamomile, or rosemary)
- 15-20 drops of essential oil (your choice of scent)
- 1 tablespoon coconut oil (per batch)
- Metal mixing bowls
- Large metal spoon
- Spray bottle filled with water or witch hazel
- Heart-shaped or other silicone molds
Step-by-Step Instructions
- In a large metal mixing bowl, combine 2 cups of baking soda, 1 cup of citric acid, and 6 tablespoons of Epsom salt.
- Add 1 tablespoon of dried herbs and mix well.
- Slowly add 15-20 drops of essential oil and 1 tablespoon of coconut oil, stirring consistently.
- Using a spray bottle, lightly mist the mixture with water or witch hazel, one spray at a time, until the mixture holds its shape when squeezed.
- Press the mixture firmly into silicone molds. Let them sit for 5-10 minutes before removing them from the molds.
- Allow the DIY bath bombs to air dry for a few days before using or packaging them in cellophane for gifting or selling.
By trying these steps, kids can make lovely and scented homemade spa items. These bath bombs are great for home use. They’re also outstanding crafts for selling, drawing in those who love unique, calming products.
Beaded Keychains
Beaded keychains are a cool way for kids to be creative and improve their fine motor skills. It’s not just fun, but also a great idea for gifts or selling them. So, let’s get into this awesome craft!
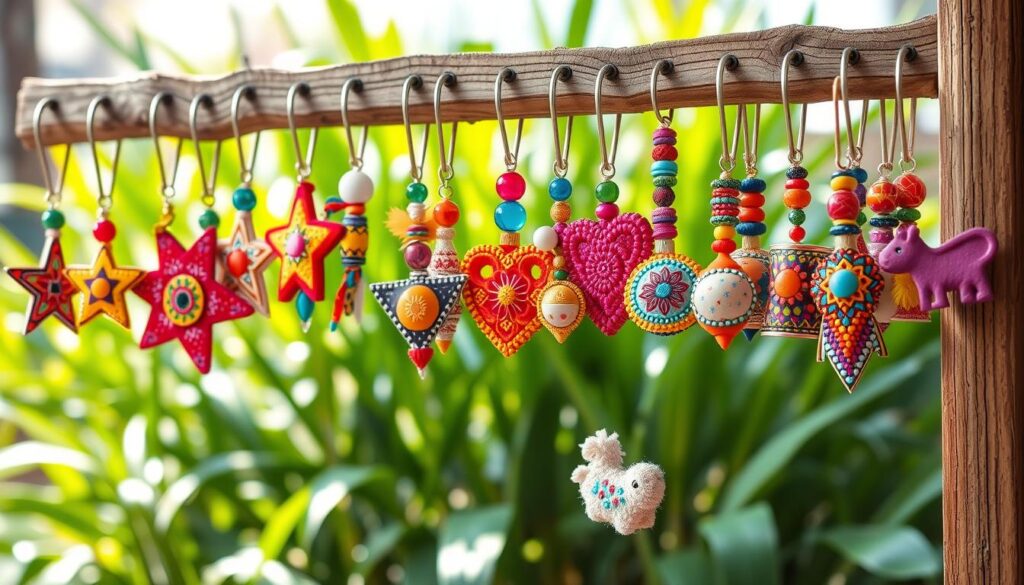
Materials Needed
- Keyring
- Natural wood beads
- Suede cord
- Embroidery floss
You can find these materials at home or buy them from craft stores. With many beads to choose from, you can make all kinds of keychains.
Step-by-Step Instructions
- Gather Materials: Make sure you have everything you need. This should take about 5 minutes.
- Prepare the Cord: Cut the suede cord longer than you think you’ll need. You can adjust it later.
- Thread the Beads: Pick beads that look good together and thread them. Make sure they fit on the cord.
- Create a Suede Tassel: Make a loop with the cord and tie it. Cut the ends to make the tassel look nice. It’s a cool addition to your keychain.
- Finish with Embroidery Floss: Use the embroidery floss for extra decoration on the tassel. Just tie it around.
- Attach to Keyring: Hook your cool keychain to the keyring. Adjust it to look perfect.
Making beaded keychains is fun for both kids and grown-ups. You can hang them on bags or backpacks, making them a cool accessory. Since you can personalize them, making these keychains is both fun and rewarding.
Homemade Lip Balm
Making your own lip balm is a fun, natural skincare craft. It not only cares for your lips but is also a cool DIY beauty product you can sell. Kids can learn how to make it and try out different natural ingredients. It’s a great way to start a small business for young minds.
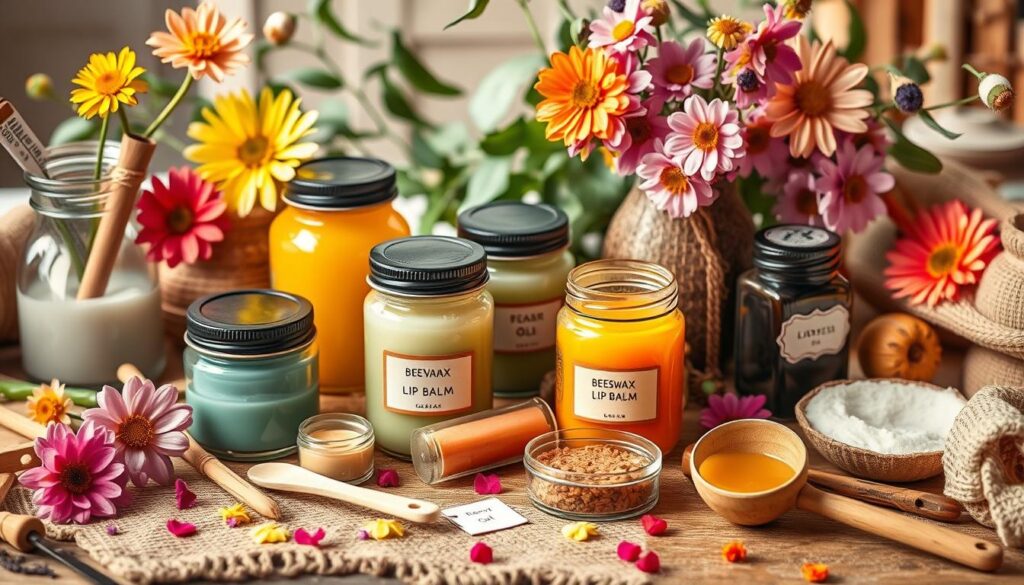
- Beeswax pellets
- Coconut oil
- Shea butter
- Essential oils (like peppermint or lavender)
- Lip balm containers or tins
Step-by-Step Instructions:
- Measure out your ingredients: 2 tablespoons of beeswax pellets, 2 tablespoons of coconut oil, and 1 tablespoon of shea butter.
- Melt the beeswax, coconut oil, and shea butter together in a double boiler, stirring occasionally.
- Once melted, remove from heat and add a few drops of your chosen essential oil.
- Quickly pour the mixture into lip balm containers or tins before it solidifies.
- Allow the lip balm to cool completely and harden for about an hour before using.
When kids make their own lip balm, they dive into the world of DIY beauty. They get to craft unique, tasty balms to sell. This activity boosts creativity and teaches them about making natural skincare items. Plus, quality homemade products, especially with unique packaging, attract folks looking for special, natural choices.
“The joy of creating something beautiful and useful with their own hands can inspire kids to continue exploring the world of creative DIY projects.”
Sugar Scrubs
Sugar scrubs are a fun and easy addition to homemade skincare. They let you exfoliate and moisturize with natural stuff. Kids can easily make and sell them at events.
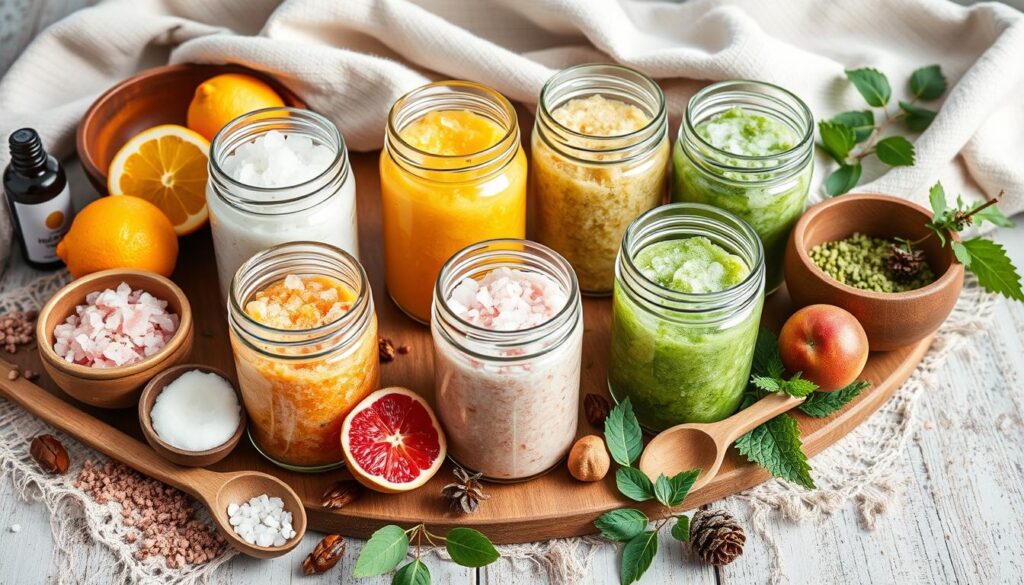
Materials Needed
- 2/3 cup granulated white sugar
- 1/3 cup packed brown sugar
- 1/2 cup olive oil
- 1 tbsp vanilla extract
- 1 half pint mason jar
- Baker’s twine
- Label with a sticker back
- Fine point black marker
Step-by-Step Instructions
- Combine the Sugar: Mix the granulated and brown sugar well in a bowl.
- Add Olive Oil: Gradually add olive oil, stirring to keep the mix smooth.
- Vanilla Extract: Mix in the vanilla extract for a nice smell.
- Package the Scrub: Carefully put the scrub into a mason jar.
- Decorate and Label: Decorate the jar with baker’s twine and add a labeled sticker.
- Final Touches: Use a marker to write the product name and instructions on the label.
Making sugar scrubs is quick and simple. They’re great for yourself or to sell at events. The process is short and fun. It’s a productive project for kids.
Dried Flower Petal Art
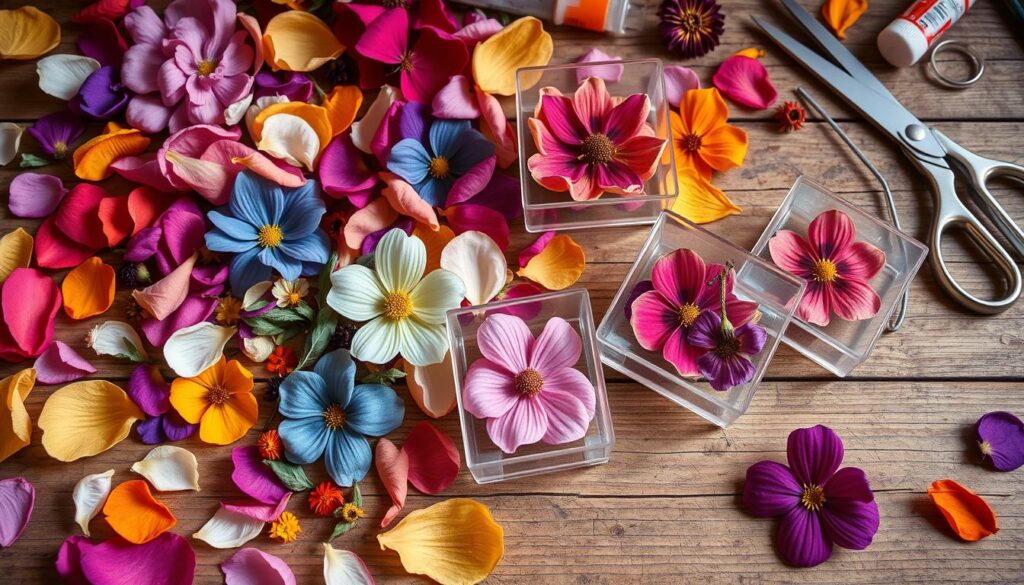
Dried flower petal art lets kids use their creativity and learn about nature. They can make beautiful decorations with dried flowers. To start, you need some materials and to follow simple steps.
Materials Needed
- Fresh flowers
- Essential oils (optional)
- Airtight container or glass jar
Step-by-Step Instructions
- Select fresh flowers with bright colors.
- Press the flowers flat under heavy books or in a flower press. Change the blotting paper often for best results.
- After they dry, arrange the petals on canvas or cardstock.
- Glue the petals down carefully.
- To make your art smell nice, add a few drops of essential oils.
- Dry your art completely. Keep it in a jar or container to last longer.
This project mixes nature with art, creating a hands-on experience for kids. They end up with a pretty keepsake or a gift for someone special. Dive into dried flower crafts and let creativity blossom!
Leather Lip Balm Holder
Making a leather lip balm holder is not only a stylish craft but also very useful. It’s a good way for kids to learn about working with leather. They can start by cutting small leather pieces and move to more complex designs.
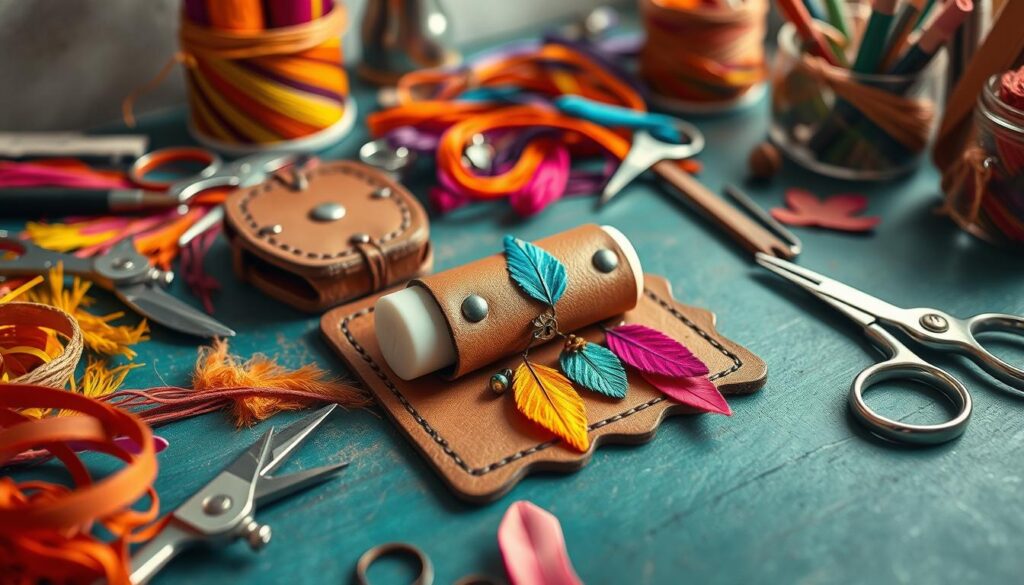
- Leather pieces or scraps
- A lip balm tube for sizing
- Leather sewing kit or strong adhesive
- Decorative elements like beads or stamps
Kids can make these unique crafts to sell at different prices. These holders can be sold from $5 to $30, making them great as gifts. Adding holiday-themed packaging increases their charm. This way, the crafts are not just useful but also look great.
Fabric Dog Poop Bag Holder
If you like making things and want cool handmade dog accessories, try a fabric dog poop bag holder. It’s useful for pet owners and can help you make money from pet crafts to sell.
Starting this project, you’ll see many designs out there. They range from easy to complex. You can get ideas from tote bags, wallet organizers, and running belts, no matter your sewing skill level.
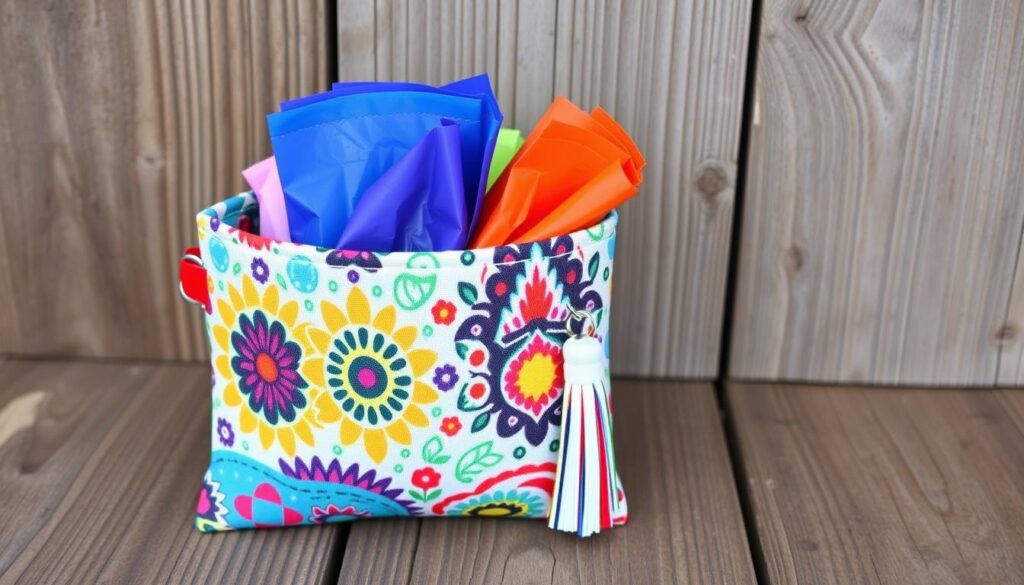
- A piece of sturdy fabric
- A zipper or Velcro
- Thread and a needle or a sewing machine
- A metal keyring or carabiner
- Optional: decorative elements like patches or embroidery
The making process is simple:
- Cut two rectangle pieces from your chosen fabric.
- Sew the zipper or Velcro to the top edges of both pieces.
- With the right sides facing each other, stitch around the sides and bottom. Leave a small opening for turning.
- Turn it right side out, stitch the opening shut, and attach the keyring or carabiner.
- Add any decorative elements to personalize your bag holder.
Many pet owners love special touches for their pets, so handmade dog accessories are in demand. By focusing on certain products, you can become well-known in your craft. This approach works well in crafts, like making candles or jewelry, where being unique pays off.
Making pet crafts to sell combines your love for sewing with a profitable market. A nice, stylish poop bag holder for dogs can be popular. It offers you a chance to earn while doing something pleasant for pet lovers.
DIY Garland
Garlands make any room festive, perfect for both grown-ups and kids. Using simple things like twine and paper, kids can have fun making garlands. This activity not only looks great but also helps families make memories together. Here’s how to start.
Materials Needed
- Twine or yarn
- Paper (various colors and textures)
- Scissors
- Glue or tape
- Wooden beads (optional)
- Markers or paint (for decorating)
Step-by-Step Instructions
- Choose your theme: Think about your garland’s look; maybe colorful, rustic, or themed for a holiday like Christmas.
- Prepare your materials: Cut paper into shapes like circles or hearts. If using beads, get them ready too.
- Start assembling: First, secure the twine’s end. Then attach each paper shape or bead with loops, knots, or glue.
- Arrange creatively: Switch between shapes and beads in a nice pattern. Use different colors and textures for variety.
- Secure the ends: When everything is on the string, tie or glue the ends so nothing falls off.
- Decorate and customize: Add your touch with markers or paint on the paper parts. This makes your garland special.
- Display your creation: Hang your garland on shelves, mantles, or doorways. Enjoy the festive look it gives!
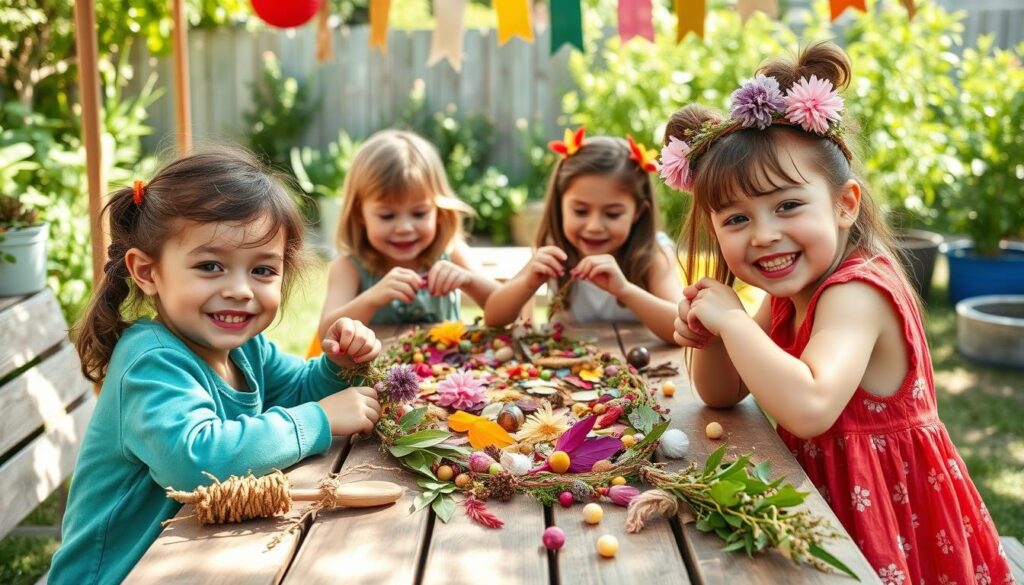
This craft is not just fun but useful too. Whether you go for a boho, rustic, or festive look, making a garland is fun for all. Ready to start this adventure? Get your materials, involve the kids, and create beautiful decorations for any event!
Candle Designs
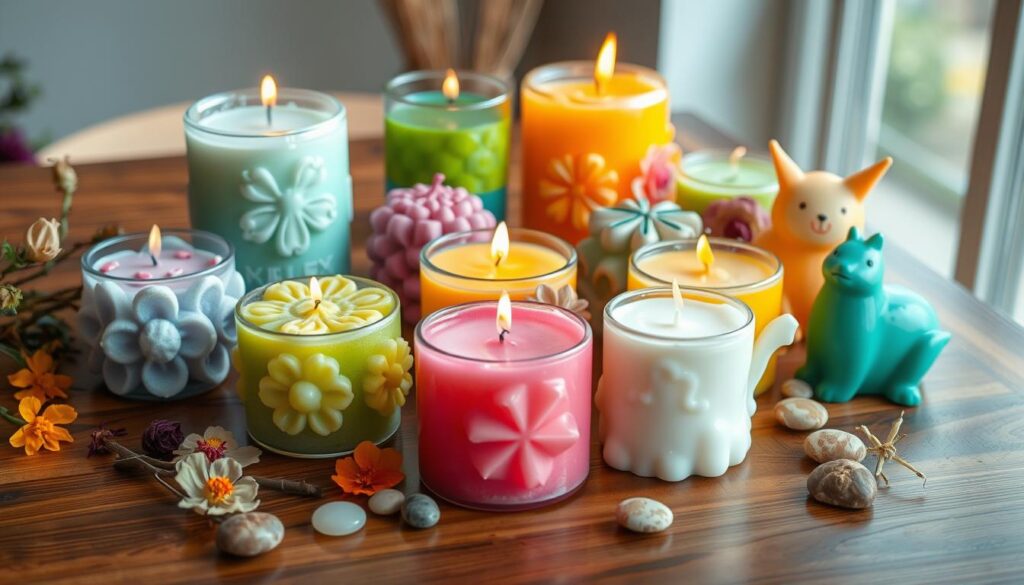
Candle making is a great way for kids to have fun and be creative. They can use colors, scents, and shapes to make their own candles. These candles can brighten any room or be given as special gifts. Kids love making DIY candles because it lets them try out different designs. For instance, DIY Lemon Lavender Candles and DIY Pumpkin Spice Latte Candles are really fun to make.
Materials Needed
- Wax (soy, beeswax, or paraffin)
- Wicks
- Essential oils for fragrance
- Candle dye or crayon pieces for color
- Candle molds or containers
- Heat-resistant measuring pitcher
- Stirring stick
Step-by-Step Instructions
- Prepare your workspace: Lay down newspaper or an old cloth to protect surfaces.
- Melt the wax: Using a double boiler, slowly melt the wax in the heat-resistant measuring pitcher.
- Customize your wax: Add in your chosen candle dye or crayon pieces for color and stir until evenly blended.
- Add fragrance: Once the wax is fully melted, remove it from heat and add essential oils for a pleasant aroma.
- Attach the wick: Secure the wick to the center of your candle mold or container using a hot glue gun or adhesive.
- Pour the wax: Carefully pour the wax into the prepared molds or containers, ensuring the wick stays centered.
- Let it set: Allow the candle to cool and solidify completely. This can take a few hours or overnight.
- Trim the wick: Once the candle is fully set, trim the wick to about ¼ inch.
Candle making can be more than just a fun activity for kids. Turning it into a small business is possible. Creating unique items like DIY Wine Bottle Citronella Candles or rustic DIY Lemon Lavender Candles can spark a love for crafting and business in kids.
Tufted Rugs and Mats
Dive into the world of tufting crafts, ideal for kids. They can create their own DIY rugs and mats. This art form blends creativity with practical uses. It’s perfect for adding homemade decorations. Children learn to make cozy, unique rugs that brighten and warm their rooms.
Materials Needed
- Tufting gun
- Backing fabric (primary tufted cloth)
- Yarn of various colors
- Tufting frame
- Carpet adhesive
- Canvas or rug backing material
- Scissors
- Marker for design outlines
Step-by-Step Instructions
- Prepare Your Workspace: Set up your tufting frame and secure the backing fabric tightly.
- Draw Your Design: Use a marker to outline the design of your DIY rug on the backing fabric.
- Load the Tufting Gun: Thread your yarn into the tufting gun, ready to start the tufting process.
- Begin Tufting: Follow your design, pressing the gun to the fabric and moving along the outline.
- Fill in Your Design: Keep tufting until your design is completely covered with yarn.
- Secure the Tufts: Use carpet adhesive on the rug’s back to fix the yarn in place.
- Trim Excess: When the adhesive dries, trim any extra yarn to smooth the rug’s surface.
- Attach Rug Backing: Glue or sew the backing material to finish your home decor piece.
Creating tufted rugs and mats is a fun way to engage with tufting crafts. You get to make distinct, personalized DIY rugs. It boosts creativity and gives you beautiful decorations for any space.
Paper Flowers
Paper flowers are a great choice instead of real bouquets. They let children use many colors and materials. They can make flowers that never die. These are perfect for gifts, decorating, or selling at craft fairs. Making paper flowers is a fun way to boost creativity and improve hand skills in kids.
Materials Needed
To start making paper crafts, you’ll need some things:
- Colored tissue paper or crepe paper
- Green floral tape
- Pipe cleaners or floral wire
- Scissors
- Glue
- Markers for extra touches (optional)
Step-by-Step Instructions
- Choose your flower type: First, pick the type of flower you want to make. You can choose from options like blossoms and daisies.
- Cut the paper: Cut your paper into shapes that look like petals. Their size and shape will match the flower you’ve picked.
- Form the petals: Softly pull the edges of each petal. This makes them look curved and real.
- Assemble the flower: Attach the petals onto a pipe cleaner or wire. Start with small petals at the center. Then, use floral tape to keep them together.
- Create the stem: Use the green tape to cover the bottom of your flower. This makes the stem. You can add paper leaves if you want.
- Add details: You can draw on the petals with markers. This adds veins or colors for a realistic touch.
By following these steps, kids can make amazing paper flowers. They can decorate their rooms, give them as gifts, or sell them. Paper crafting opens up endless possibilities for creative crafts. So grab your supplies and start making beautiful, lasting flowers today!
Textile Dyeing
Textile dyeing turns plain fabrics into vibrant art. It’s fun and lets kids learn about textile dyeing techniques. This includes tie-dyeing and batik. With guidance, children can use these methods safely and get awesome results.
Tie-dye is a favorite DIY fabric coloring project. Kids use techniques like crumple and rainbow ombré. We recommend using Tulip ColorShot Instant Fabric Color and Tulip One-Step Spray Dye Kit. These products make it easy and enjoyable for kids.
Projects like spray-painted shoes and custom bags boost kids’ creativity. Making unique fabric crafts can also lead to earning money. Hand-dyed items are very popular in markets today.
To start, pick items like 100% cotton tops or hoodies with high cotton blend. These fabrics work best with dyes, creating bold colors. Trying dyeing accessories like tote bags can expand kids’ creative skills.
Always use non-toxic dyes and watch over the young artists. With safe practices and the right textile dyeing techniques, dyeing is both educational and fun. Kids will take pride in sharing or selling their creations.
Conclusion: 10 Creative Boho Crafts Kids Can Make and Sell
We’ve looked at 10 exciting boho crafts kids can dive into. These projects mix fashion, home decor, self-care, and more. Kids not only have fun making these items but also pick up key business skills.
They can create cool stuff like greeting cards and bath bombs. Selling these crafts online helps them reach more people. To do well, they should offer things people can personalize, use eco-friendly materials, and know their buyers well.
Making things like leather holders or colorful garlands can be both enjoyable and profitable. By choosing affordable materials, kids can save money and earn more. We encourage kids to keep being creative, think like business owners, and love crafting.

